Multiple Scenario Project Tool
When establishing a mathematical model of a system, it is very common to perform a variety of runs with different values of the most significant parameters to see their effects. In some cases, it is also useful to have the model run the scenario without a project and within a project. In previous versions of the plugin this had to be done in separate QGIS projects, which involved making copies of the project folders and data, which can bring problems with data handling and access. This version of the OilFlow2D plugin for QGIS allows the management of multiple scenarios within the same project. Variants of the same model can be created as subprojects, keeping the scenarios organized in one project.
New interface elements for managing multi-scenario projects in OilFlow2D
The OilFlow2D toolbar includes a scenario drop-down list. The first toolbar button opens the New OilFlow2D Project/Scene menu, which contains New OilFlow2D Project, New Scenario, and Delete Scenario. The OilFlow2D Tools menu contains Import Single to MultiScenario Project for converting an existing single-scenario project. The figures below show these current OilFlow2D controls in workflow order.

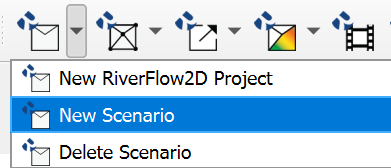
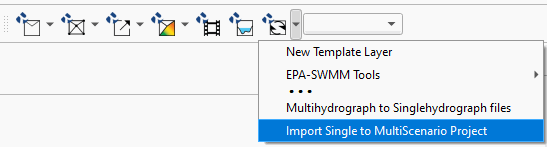
Creating a new OilFlow2D multiple-scenario project using QGIS
-
Open
Plugins > OilFlow2D MS > New OilFlow2D Project/Sceneand selectNew OilFlow2D Project.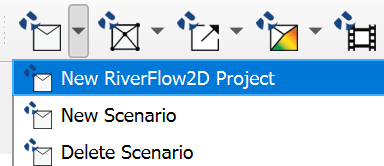
-
In the
Create New OilFlow2D Projectdialog, choose the project directory and review the layers to include. TheName initial scenario :field is initiallyof2d_basein the current interface. Use a short scenario name without spaces, for examplebase, before confirming the project.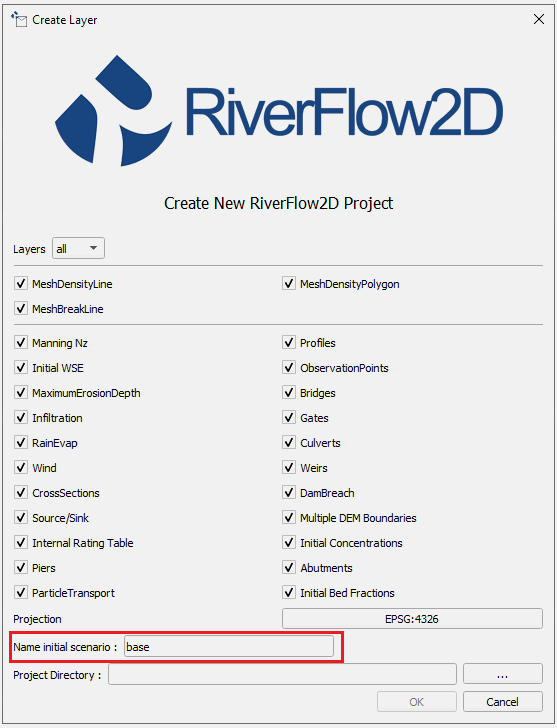
The selected project directory contains a subfolder with the initial scenario name. That scenario folder contains the shape data folder and the other OilFlow2D layer data. Each additional scenario receives its own scenario folder and shape data folder.
Create a new scenario
After creating a multi-scenario project, or after converting an existing project as described below, create an additional scenario from the current scenario.
-
Open
Plugins > OilFlow2D MS > New OilFlow2D Project/Sceneand select the visibleNew Scenarioaction. -
In the
Add New Scenario to OilFlow Projectdialog, enter a short name without spaces inNew Scenario Name :. The configured example usesscenario_a, as shown below, and then confirms withOK.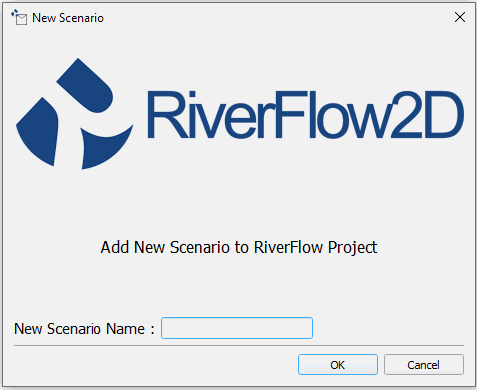
The new scenario is based on the input layers of the current scenario. OilFlow2D creates the new scenario folder, copies the required input-layer files, updates the layer paths, and adds the new name to the scenario list. Post-processing products such as maps and animations are not copied.
Switching scenarios
-
Open the scenario list in the OilFlow2D toolbar and select the desired scenario. The example below shows
baseandscenario_ain the list.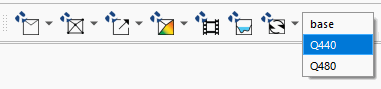
-
When changing from the current scenario, OilFlow2D displays the
OilFlow2Dconfirmation dialog with the messageDo you want change scenario?. ChooseYesto switch orNoto remain in the current scenario.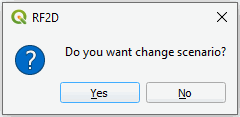
When a scenario is switched, the state of the layers in the current scenario is saved automatically.
Deleting scenarios
-
Open
Plugins > OilFlow2D MS > New OilFlow2D Project/Sceneand select the visibleDelete Scenarioaction.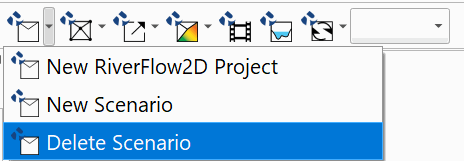
-
Complete the deletion through the visible OilFlow2D dialog and prompts.
Do not delete a scenario folder manually from the project directory. The project can become unusable; use the OilFlow2D action instead.
Import an OilFlow2D project into Multi-scenario mode
The multi-scenario tool can convert an existing single-scenario OilFlow2D project.
-
Open
Plugins > OilFlow2D MS > OilFlow2D Toolsand select the exact visible actionImport Single to MultiScenario Project. -
In the visible import window, choose the source
.DATfile and confirm the import.
OilFlow2D creates a scenario subfolder for the imported project, copies the project data into that scenario folder, and updates the QGIS project metadata and layer sources to the new locations. The scenario list is then updated with the imported scenario.
The original project files remain in the project folder. Keep the QGIS project file (.qgz) and remove the original data only when it is no longer needed.
This concludes the tutorial on using the Multiple Scenario Project tool within the QGIS OilFlow2D toolbar.